glamoxyn

Start with the shot list, not the equipment

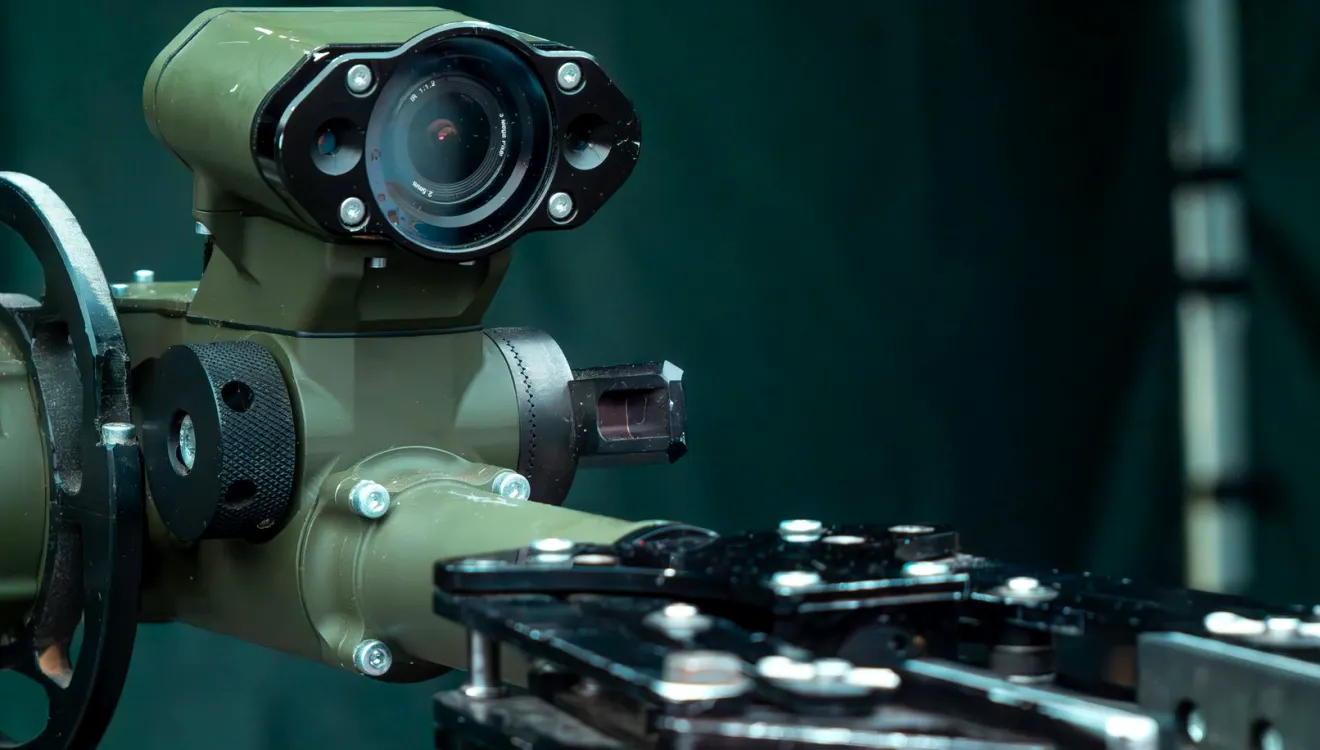
Before anyone opens a flight case, sit down with the director and the shot list. Remote heads are only useful where they cover shots a crew could not otherwise reach, so write down which cameras need pan, tilt and zoom control from the gallery and which can stay on a conventional pedestal. This sorts out how many control channels you really need and where each head will live.

Walk the floor with a tape measure. Note the throw to each presenter position, the ceiling height, and where lighting trusses or set pieces might block a head's travel. A head that fouls a flat at the extreme of its pan is a problem found at rehearsal rather than during a briefing, and by then it is expensive to move.

Finish the planning stage with a one-page sheet listing each camera, its lens, its mount, its control address and its cable run. That sheet becomes the reference for everyone who touches the system for the rest of the shoot.

  • List every camera and its operating mode
  • Measure throw distances and mounting heights
  • Check head travel against set and rigging
  • Write one reference sheet per camera

Mounting and cabling the heads

Mount each head on a base that cannot shift. Tighten the fixings, then test the load by driving the head through its full range at working speed. Any flex in a bracket will show up as a slow wobble at the end of a move, and it is far easier to cure with a stiffer plate at this stage than to explain to a director later.

Run cables so that movement never pulls on a connector. Leave a service loop near each head, keep power and control runs apart where you can, and label both ends of every cable with the camera number. Tape down any run that crosses a walking route, and keep a spare length of each type within reach of the gallery.

Check the signal path end to end before you trust it. Confirm video reaches the vision mixer, tally returns to the camera, and the control line answers from the panel. Doing this one camera at a time isolates a fault quickly; doing it all at once hides which cable is the culprit.

  • Use rigid bases and test full travel
  • Leave a service loop at every head
  • Label both cable ends with the camera number

Addressing and panel assignment

Give every head a unique control address and write it on the unit itself. Duplicate addresses are the commonest cause of the panel moving the wrong camera, a mistake that is startling on air and entirely avoidable. Set addresses in camera order so the numbering on the panel mirrors the numbering on the monitor wall.

Assign each camera to a panel channel and check the response of the joystick, the zoom rocker and the focus control. Set the speed limits for each operator: a gentle ceiling suits interview shots, while a faster setting is worth keeping for a studio with a lot of movement. Store these as named settings rather than relying on memory.

Save a recorded set of preset positions for each camera, such as wide, two-shot and close-up on each seat. Presets save the operator from hunting for a frame during a live take, and they give a consistent starting point after every break. Check each preset is repeatable by recalling it three times from different starting positions.

  • One unique address per head, written on the unit
  • Store speed limits as named settings
  • Test each preset three times

Matching the cameras by shading

Matching begins with a reference. Put a grey card and a standard colour chart in the presenter's position under the final lighting, and line up every camera on the same chart before judging anything else. Set exposure first, then black level, then white balance. Cameras that look the same on a chart can still differ on skin, so check a real face afterwards.

Work in a dim gallery on a calibrated monitor, and compare the cameras side by side on a split display where the equipment allows it. Adjust gamma and colour matrix only as far as needed to bring the sensors together; chasing a perfect match in every parameter often makes the picture look processed rather than natural.

Record the final settings against each camera on your reference sheet. Lighting that changes during the day, such as daylight spilling into a studio window, will pull a shoot away from the match, so plan a quick re-check after any long break rather than assuming the morning's work still holds.

  • Use a grey card and chart under final lighting
  • Set exposure, then black level, then white balance
  • Verify the match on a real face

Seasonal points for late autumn shoots

Shorter days change a studio more than people expect. Where a set has windows or a glass roof, the light through them changes quickly in the afternoon, so schedule critical shading early or block the daylight completely and light the scene artificially. A match made at midday can drift noticeably by the time the last scene is recorded.

Cold buildings and damp locations are hard on equipment. Let cases warm up before you power anything on, because condensation inside a head or a camera body causes faults that appear and vanish for no obvious reason. Keep connectors dry, and carry a small supply of cloths and spare protective covers for outside work.

Allow extra time for setup in these weeks, since crews are often working in coats and gloves, and fine adjustments take longer. A calm, unhurried line-up is better than a rushed one, and it leaves a margin for the faults that colder conditions tend to bring.

  • Block or plan around changing daylight
  • Warm equipment before powering on
  • Add margin to setup time

A short checklist before the first take

Run through the system in the same order every time. Power up, confirm every head answers, recall each preset, check the picture on each camera, and watch tally on the monitor wall. A fixed routine means a missed item stands out quickly, and it lets any member of the crew pick up the system without relying on one person's memory.

Brief the operators on speed settings, the presets available and who owns each camera. Agree a simple spoken signal for a problem, so a fault is flagged before it reaches air. Keep the reference sheet visible in the gallery, and keep a printed copy by the panel in case a screen fails.

Afterwards, note anything that surprised you. A short written note on a loose bracket, a noisy cable or a preset that drifted turns one shoot's trouble into the next shoot's easy start, and over time it builds a reliable picture of how your own equipment behaves.

  • Power up, address, presets, picture, tally
  • Brief operators on speeds and ownership
  • Write a short note after every shoot

A multi-camera shoot rewards calm preparation. Plan from the shot list, mount firmly, address every head uniquely, match on a reference and keep a written record of what you set. None of these steps is difficult, but each one removes a small risk that would otherwise surface at the worst moment. If you would like a second pair of eyes on your setup, the contact page is the place to start.