glamoxyn

Starting with the light we cannot see

Before any fixture is chosen, the first tool we pick up is a light meter, and the second is a camera with a known response. A plot that looks good to the eye in a quiet room can behave very differently once a camera sees it. Skin tones are the clearest test. A face that reads warm and natural to a director can turn grey or orange on the monitor if the colour quality of the source is poor.

So we measure before we commit. We take readings at the positions where presenters, guests or performers will actually stand, note the levels, and compare them with what the camera setup can hold. This takes a short while on a recce day and saves long arguments during rehearsal. It also gives the lighting designer and the camera engineer a shared set of numbers to talk about, which keeps the conversation practical.

The habit is simple: measure the space, then design for it.

  • Incident readings at every playing position
  • A reference chart shot through the actual camera
  • Notes on ceiling height and available power

Choosing fixtures for skin tones and camera response

Most of our studio work now uses LED fixtures, and the reason is less about novelty than control. A good soft panel lets us set colour temperature precisely and keep it steady across a long recording day, where older tungsten lamps drifted as they aged. We still keep a few tungsten units in the kit for certain looks, because some sets and some faces simply respond better to them.

What matters in the specification is colour rendering, not brightness. Two fixtures of the same output can render a face quite differently, and the cheaper one often leaves skin looking flat. We test fixtures against the cameras the client will use, since sensors differ in how they treat the greens and reds that make up a complexion.

For live stages the priorities shift slightly. Throw distance, beam angle and heat matter more, and we accept a little less subtlety in exchange for reach and reliability.

The rule we follow is to choose the fixture for what the camera will make of it.

  • Soft panels for key and fill on presenters
  • Profile units where a hard edge is needed
  • Fresnels for controlled warmth and backlight

Rigging methods that keep the crew safe and the plot tidy

Rigging is where a lighting design either survives contact with the building or does not. We work from a drawn plot with positions, weights and cable runs marked, and we check it against the real grid or truss before anyone climbs a ladder. Trusses are inspected, clamps are matched to the tube size, and every fixture carries a secondary safety attachment. None of this is exciting, but it is the part we never shortcut.

Cable management gets the same attention. Power and data are run separately where we can, labelled at both ends, and dressed along the structure so that a fault can be traced in minutes rather than hunted for. In a studio that will be used by several crews, a clear patch sheet left on the desk is worth more than any clever trick.

We also plan for access. A fixture that cannot be reached without dismantling half the rig will not be refocused when it needs to be.

A tidy rig is a safe rig, and it is faster to change.

  • Drawn plot checked against the actual structure
  • Secondary safety on every hung fixture
  • Labelled cabling and a patch sheet for the desk

Control desks, cues and the value of a plain patch

The lighting desk is only as useful as the patch behind it. We spend time up front assigning fixtures to channels in a logical order, grouping by position and purpose, so that anyone sitting down at the desk can find the key light on a presenter without a map. Names on the desk match names on the plot, and the plot matches the labels on the cable.

For studio programmes we build a small set of reliable looks and save them as clear states: a neutral working light, a presenter wide, a two-shot, a guest close. For live events the cue list is longer, but the principle holds. Each cue should say what it does in words a director would use.

We rehearse the transitions as carefully as the looks themselves. A good state reached through an awkward fade is still a poor result on air.

Plain patching and honest naming make handover to another operator straightforward.

Working with the camera team on set

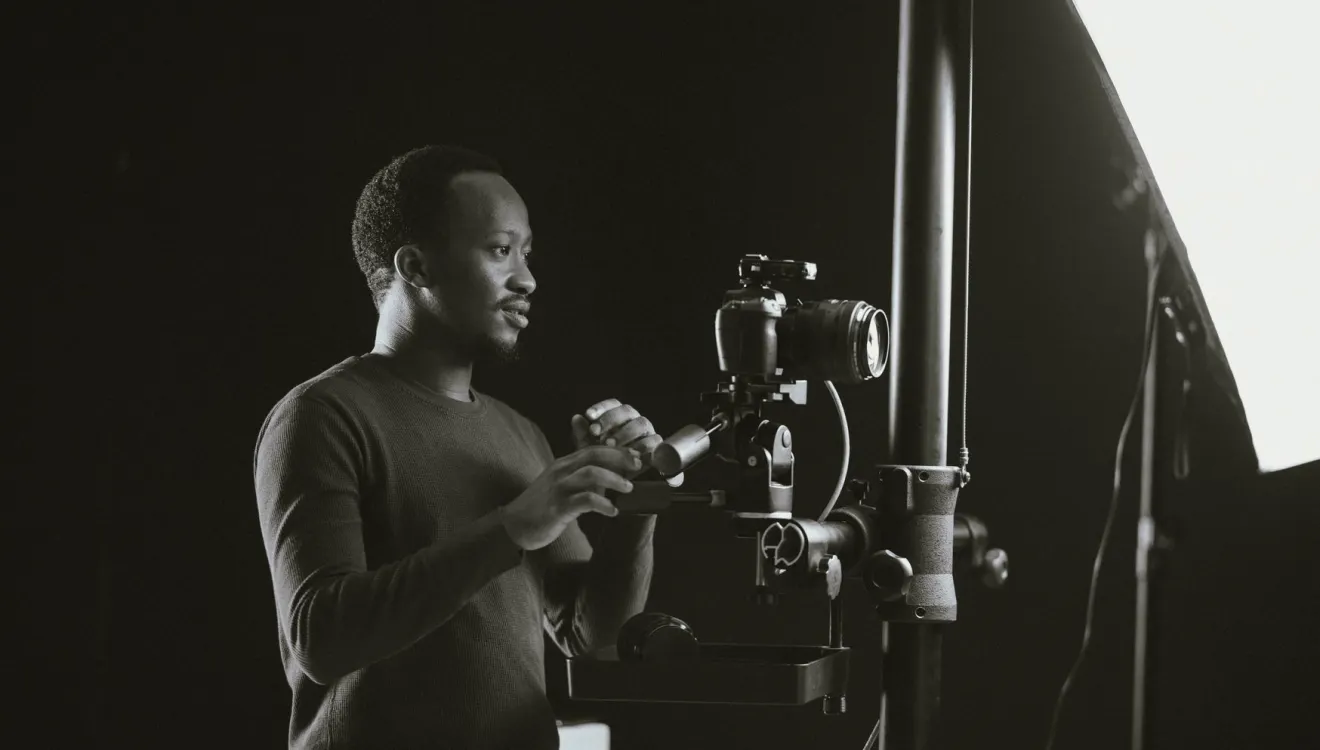
Lighting and camera systems cannot be tuned in isolation, so we try to be in the room together. Owen or another camera engineer shades the cameras while we hold the lights steady, and then we swap: we adjust a fixture while the picture is watched on a monitor. Small changes in intensity or angle often solve a problem that looked like a camera fault.

The conversation is usually about contrast. Cameras handle a certain range between the brightest and darkest parts of a frame, and a set with deep shadows beside a bright backdrop will force compromises. We agree the target range early, light the background to sit within it, and then bring the faces up where they belong.

This is also where we learn what the director actually wants the image to feel like, which no meter can tell us.

Early agreement between lighting and camera avoids late changes on the day.

  • Shade and light together, not one after the other
  • Agree the contrast range before the background is set
  • Check the picture on a calibrated monitor

What we carry and what we leave behind

Our kit list is shorter than people expect. A meter, a reference chart, a handful of gels and diffusion, spare clamps and safety bonds, gaffer tape, labels and a decent torch cover most of what a plot needs beyond the fixtures themselves. We prefer a few well-understood tools to a van full of gadgets that nobody has time to learn.

We also leave things behind deliberately. Every installation ends with a written plot, a patch sheet and short notes on how each look is built, so that the studio's own crew can run and adjust it without calling us. Where a client has an in-house technician, we would rather train them than create a dependency.

In late autumn, with darker mornings and shorter location days, we also pack extra work lights and check batteries twice. Practical habits count for more than clever equipment.

The tools behind a lighting plot are mostly modest: a meter, a chart, well-chosen fixtures, sound rigging and a patch anyone can read. What makes them work is the order in which they are used, measuring first, designing for the camera, and leaving the crew with documents they can follow. If you are planning a studio programme or a stage this winter, bring your camera details and your venue plans, and we can talk through what the room will need.